
For Consent Mode validation to work correctly, your CookieScript banner must be set up in one of the following two ways:
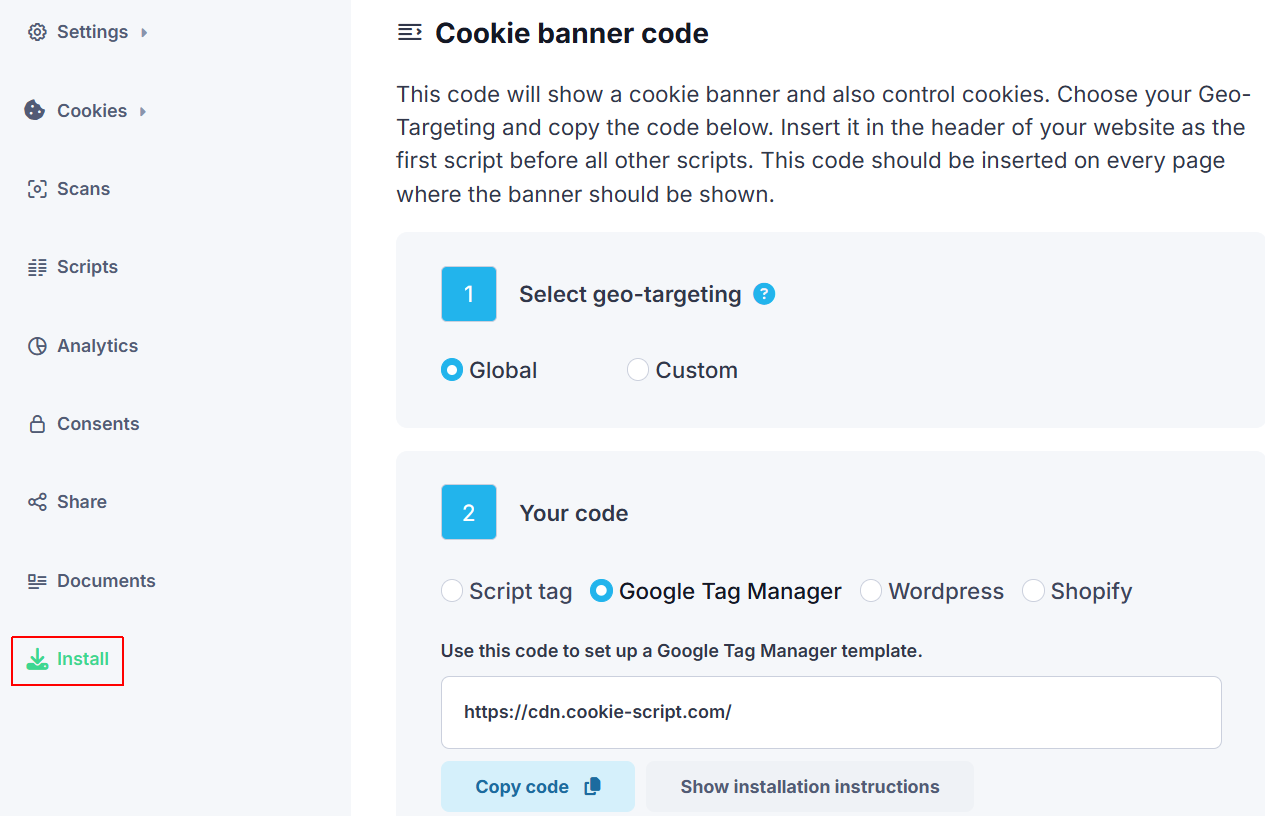
Using Google Tag Manager (GTM) — The banner is added through GTM with the CookieScript Community Template.
Added directly to your website’s header — The CookieScript banner code and the
gtag.jscode are both placed in the header section of your website.
⚠️ Important notes:
If you add the banner code to your header without also adding the
gtag.jscode, Consent Mode validation will fail.If you set up the banner in any other way (for example, using a custom script, plugin, or different integration method), validation will not work.
If your banner does not pass validation in the CookieScript dashboard, follow these steps. Validation checks are stricter now, so errors may appear if your setup is not correct.
General Steps
Re-save your banner – Always start by re-saving the banner in CookieScript. This ensures the latest version is applied.

Check your installation method – Instructions differ if you installed the banner via GTM Community Template or gtag.js.
Review error messages – See the list below for common validation errors and solutions.
Clear your browser cache – If the banner still does not validate, clear the cache in your browser and try validation again.
Note: Use only one installation method – Install the banner either via GTM or via gtag.js, not both. If you install with GTM, do not also add the code to your website header (and vice versa).
1. Site Settings Errors
Error: Site settings may be blocking validation or the validation window was closed.
When you click Validate, a small popup window opens. If you close this window, validation fails.

Validation will also fail if your website uses the following headers:
Cross-Origin-Opener-Policy: same-origin-allow-popups
Cross-Origin-Opener-Policy: same-origin
Solution: Remove or adjust these headers to complete validation.
2. GTM Template Installation
Follow this section if your banner was installed using Google Tag Manager.
Common Errors
Error: Tag GTM firing trigger is incorrect for CookieScript banner tag.
The CookieScript tag must always use the Consent Initialization trigger (more info).
If another trigger is set, validation will fail.
Error: Consent Mode is not enabled in the banner settings.
Consent Mode is disabled in your banner settings.
Enable it, save the banner, and run validation again.
Additional Checks
Ensure the CookieScript tag fires before other tags and confirm that all changes in GTM have been published. You can verify the firing order using GTM Preview Mode.
Confirm that you are using the latest CookieScript GTM Community Template (update guide).
3. gtag.js Installation
Follow this section if your banner was installed using gtag.js.
Common Errors
Error: One or more required categories do not set default consent in gtag.js code.
Your gtag.js code must include all categories:
'ad_storage'
'ad_user_data'
'ad_personalization'
'analytics_storage'
If any category is missing, validation will fail.
Error: Default consent is not set in gtag code.
No default consent block was found.
Add the following code to your website before other gtag commands (example code shown below):
Js
CopyEdit
gtag('consent', 'default', {
'ad_storage': 'denied',
'ad_user_data': 'denied',
'ad_personalization': 'denied',
'analytics_storage': 'denied'
});
Error: Incorrect code ordering in gtag installation.
Your gtag.js code is placed after CookieScript banner code.
The correct order in the <head> section is:
Default consent state
gtag.js code
CookieScript banner code
All other scripts